Main Modules for Standard Pages
Use this page as a guide for working with modules in the main region of the standard page template.
The Accordion module provides a template to manage expandable / collapsable content areas. The structure of the module is simple and includes an outer container and one or more items. The items are the expandable content areas. Each item includes a title field and a rich text field.
Items can be rearranged within the Accordion group by clicking on the Item number on the left side of the template and dragging the Item to a new location. Items can be removed by clicking the minus button on the right side of the template.
Videos in Accordions
- Similar to Tabs, videos can be included in Accordions with a simple copy and paste of the video’s embed code from
- While embedding videos in accordions is possible, it’s not the first choice as they don’t flex to mobile as the embed code does. Consider whether you can embed your video in the preferred “Embed Code” or “Feature w/ Video” modules.
- This feature is intended for short, bulleted lists (3-5 bullets per column). The content should have an overarching theme and two pieces of related content that makes sense to be separated into two columns.
- If there’s going to be a lot of text and complex information in here, or if the content is only tangentially related, use the standard accordion.
- Both sides need to be utilized. There is no auto formatting, so if the left side is blank, and the right has content, there will be white space.
- It can also be used for side-by-side image comparison with caption or text under, such as graphs, or changes (before and after).
 Embed code is the standard way we display video on the site. To embed code, open the video in Youtube, click share and copy the Embed code text. Return back to WordPress and paste that code directly into the Embed Code.
- Ensure that you add a?rel=0 at the end of the YouTube URL in the embed code. This ensures that the “suggested videos” that show up after a video ends are only PNW content. Otherwise, users can get potentially inappropriate recommendations.
- Embed code videos can appear extremely large on a full-width page; the Feature With Video module may be preferable in this instance.
- If context is necessary, ensure that you have a Title/Intro in a visual editor or appropriate text module above the video.
- Like any visual element, videos need to be balanced with text, and they also have to be curated to avoid overwhelming the page and the user with “stacks” of videos. If you are considering placing multiple videos on a page, it is generally preferable to consolidate them in a single playlist and embed that instead.
- Embedding can be technical.If you are not comfortable adding yourself, please reach out to the web team.
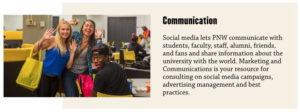
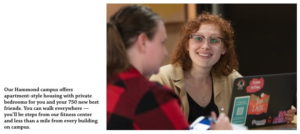
The Feature module provides a template to highlight interesting or important content. It can be used to link to stories, news articles or other pages. The module includes a title, a rich text content field, an image, and a choice of placing the image to the left or the right of the module.
A max of two features per page should be used (possibly three in notable circumstances) as this element is meant to highlight information and loses its effect with repetition. For items beyond three, consider using accordions, tabs or lists with link and text.
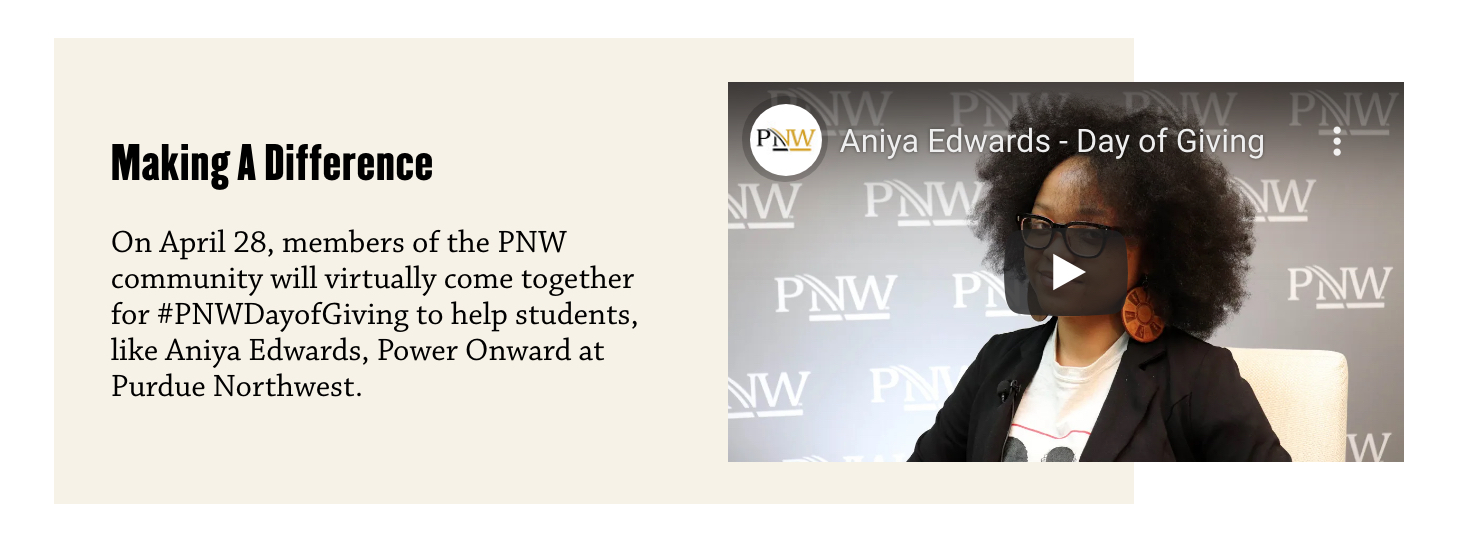
- This module should be used if the video highlights a key “selling” point but needs a short context to better support it.
- If you need to push users to a destination, use the standard feature. If the video makes sense in the larger context of a page, an embedded video is better.
- The video should be high quality, branded and relevant to the copy, enhancing the user experience. The size of the video and the length of the text should be in balance.
- Ensure that the video on Youtube has closed captions, proper descriptions and titling. The thumbnail image that appears at the beginning of the video before it plays needs to brand appropriate. Avoid using videos with a lot of text since the size will be small unless the user opens a link to Youtube.
- Ensure the video is properly linked to avoid any broken link or layout. The video must be public and should be at least 720p.
The Image Intruder module enables an image to placed on the page, separate from media added within a rich text content field. This can be useful for adding visual interest or balance to text-heavy pages. The module is very simple and includes an image field and a left or right placement option. The image caption will display to the left or right of the image depending on the designated placement option.
The People module is used to add a list of PNW faculty and/or staff to a page.
The module references a central repository of people. This allows for contact and biographical information to be managed in one place, and displayed on pages throughout the web presence.
The module is simple to work with and includes a single field that allows you to select and order the people that display on the page. You can select individuals from an A to Z list, search, or use a taxonomy term to filter the list.

The Pullquote module is a simple template used to display a stylized quote. The module has fields for the quote and the attribution. There is also an option for an associated image.
The Pullquote is similar to the Testimonial. You should use the Pullquote module when you’re emphasizing a quote on a single page, without plans to distribute across the site.

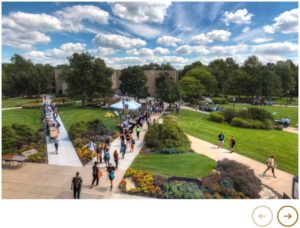
The Slideshow module provides a template for building an image gallery slideshow on the page. The module leverages default media library functionality. The slideshow can include images that already exist in the media library, or newly uploaded images.
The design calls for images in a 3:2 ratio, as noted on the module’s helper text. If you need to use a vertical photo, and you can’t crop in to a 3:2 ratio, you should place the vertical image at 600 px height in a 900 px by 600 px white background and save this image for use in the slideshow. This is a last-resort option; horizontal images are preferable.
Captions are optional, and managed within the media library.
Images can be rearranged within the gallery by clicking on the number on the left side of the template and dragging the item to a new location within the gallery. Images can be added or removed by clicking the plus or minus button on the right side of the template.
The Social Links module is a template that offers a secondary method for adding social media icons/links to the page. Links/icons are added directly to the page and not reusable across other pages.
The module was implemented to support student groups with their own social media presence, separate from the primary channels managed by the university.
The module is simple to work with and includes a heading field and a field for one or more social links. The social icons are pre-built into the module.
![]()
The Split Column module is a template used to create two columns of content within the main content region.
The module includes a field for designating the width of each of the two columns within the containing region. Three options are available: 80/20, 50/50, and 20/80. 50/50 is the default option. 80/20 and 20/80 are useful when there is a need to pair text with an icon.

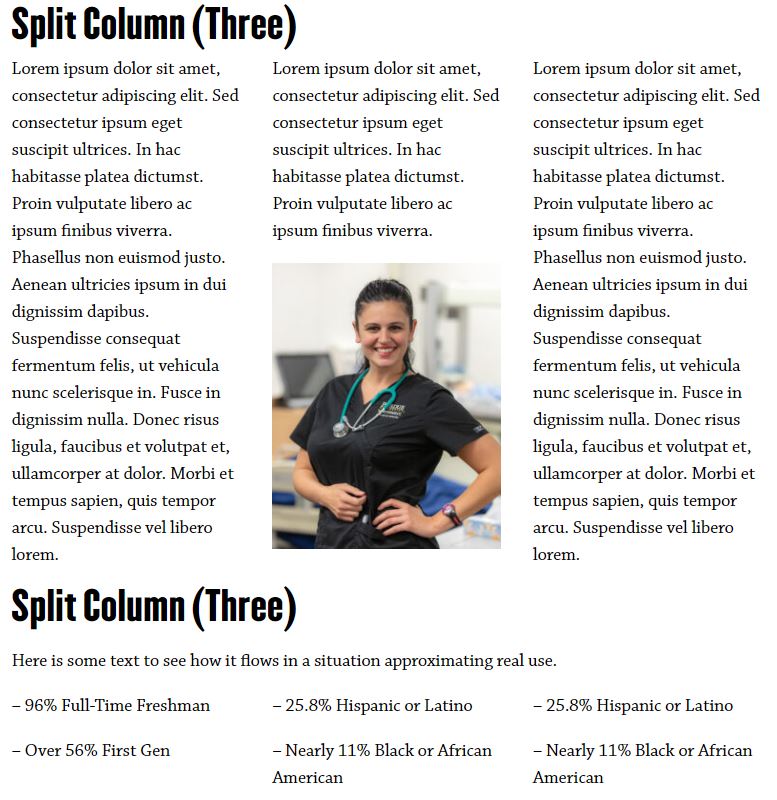
The Split Column module is a template used to create three columns of content within the main content region.
The module (unlike the split column above) does not allow for shifting the the width 50/50 or 80/20, but instead is set to an equal 1/3 width for each column. Text and images can be used, but images must not be floated.
This module is intended for short, bulleted sections of text. Long/intricate text is better suited to another module.
The Tabs module provides a template to manage content in groups of tabs. This is useful for displaying related content, or detailed and text-heavy content that otherwise would display on a long page.
The structure of the module is simple and includes a title and a rich text field for each tab. Items can be removed by clicking the minus button on the right side of the template.
Videos In Tabs
- You can utilize Tabs to embed a video as well when there is a supporting visual piece to a larger piece of content.
- To share a video in the Tab module, simply copy and paste the Youtube embed code directly into the module.
- While embedding videos in tabs is possible, it’s not the first choice as they don’t flex to mobile as the embed code does. Consider whether you can embed your video in the preferred “Embed Code” or “Feature w/ Video” modules.
The Table module references a central repository of tables. This allows tables to be reused across the site, but the primary benefit of this approach is that it allows PNW to leverage the TablePress plugin for managing mobile responsive tables.
Please contact the Marketing and Communications team if you need a table added to the TablePress inventory. Tables will include scrollbars for easier display on mobile devices. For simple tables Marketing and Communications can override the scrollbar by placing a special CSS class of table-no-scroll on the table.
The Testimonial module references a central repository of quotes. This allows for quotes to be managed in one place, and displayed on pages throughout the web presence. Testimonials have the same design as Pullquotes.
The module is simple to work with and includes a single field that allows you to select the quote to display from a dropdown that includes a search tool.
The Pullquote is similar to the Testimonial. You should use the Testimonial module when you plan to distribute content to multiple pages around the site (e.g., a student testimonial displayed on a program page and a college landing page.)
The Visual Editor (WYSIWYG) module is the primary tool for managing content on the page. It includes a rich text editor with a variety of options for formatting and displaying content.